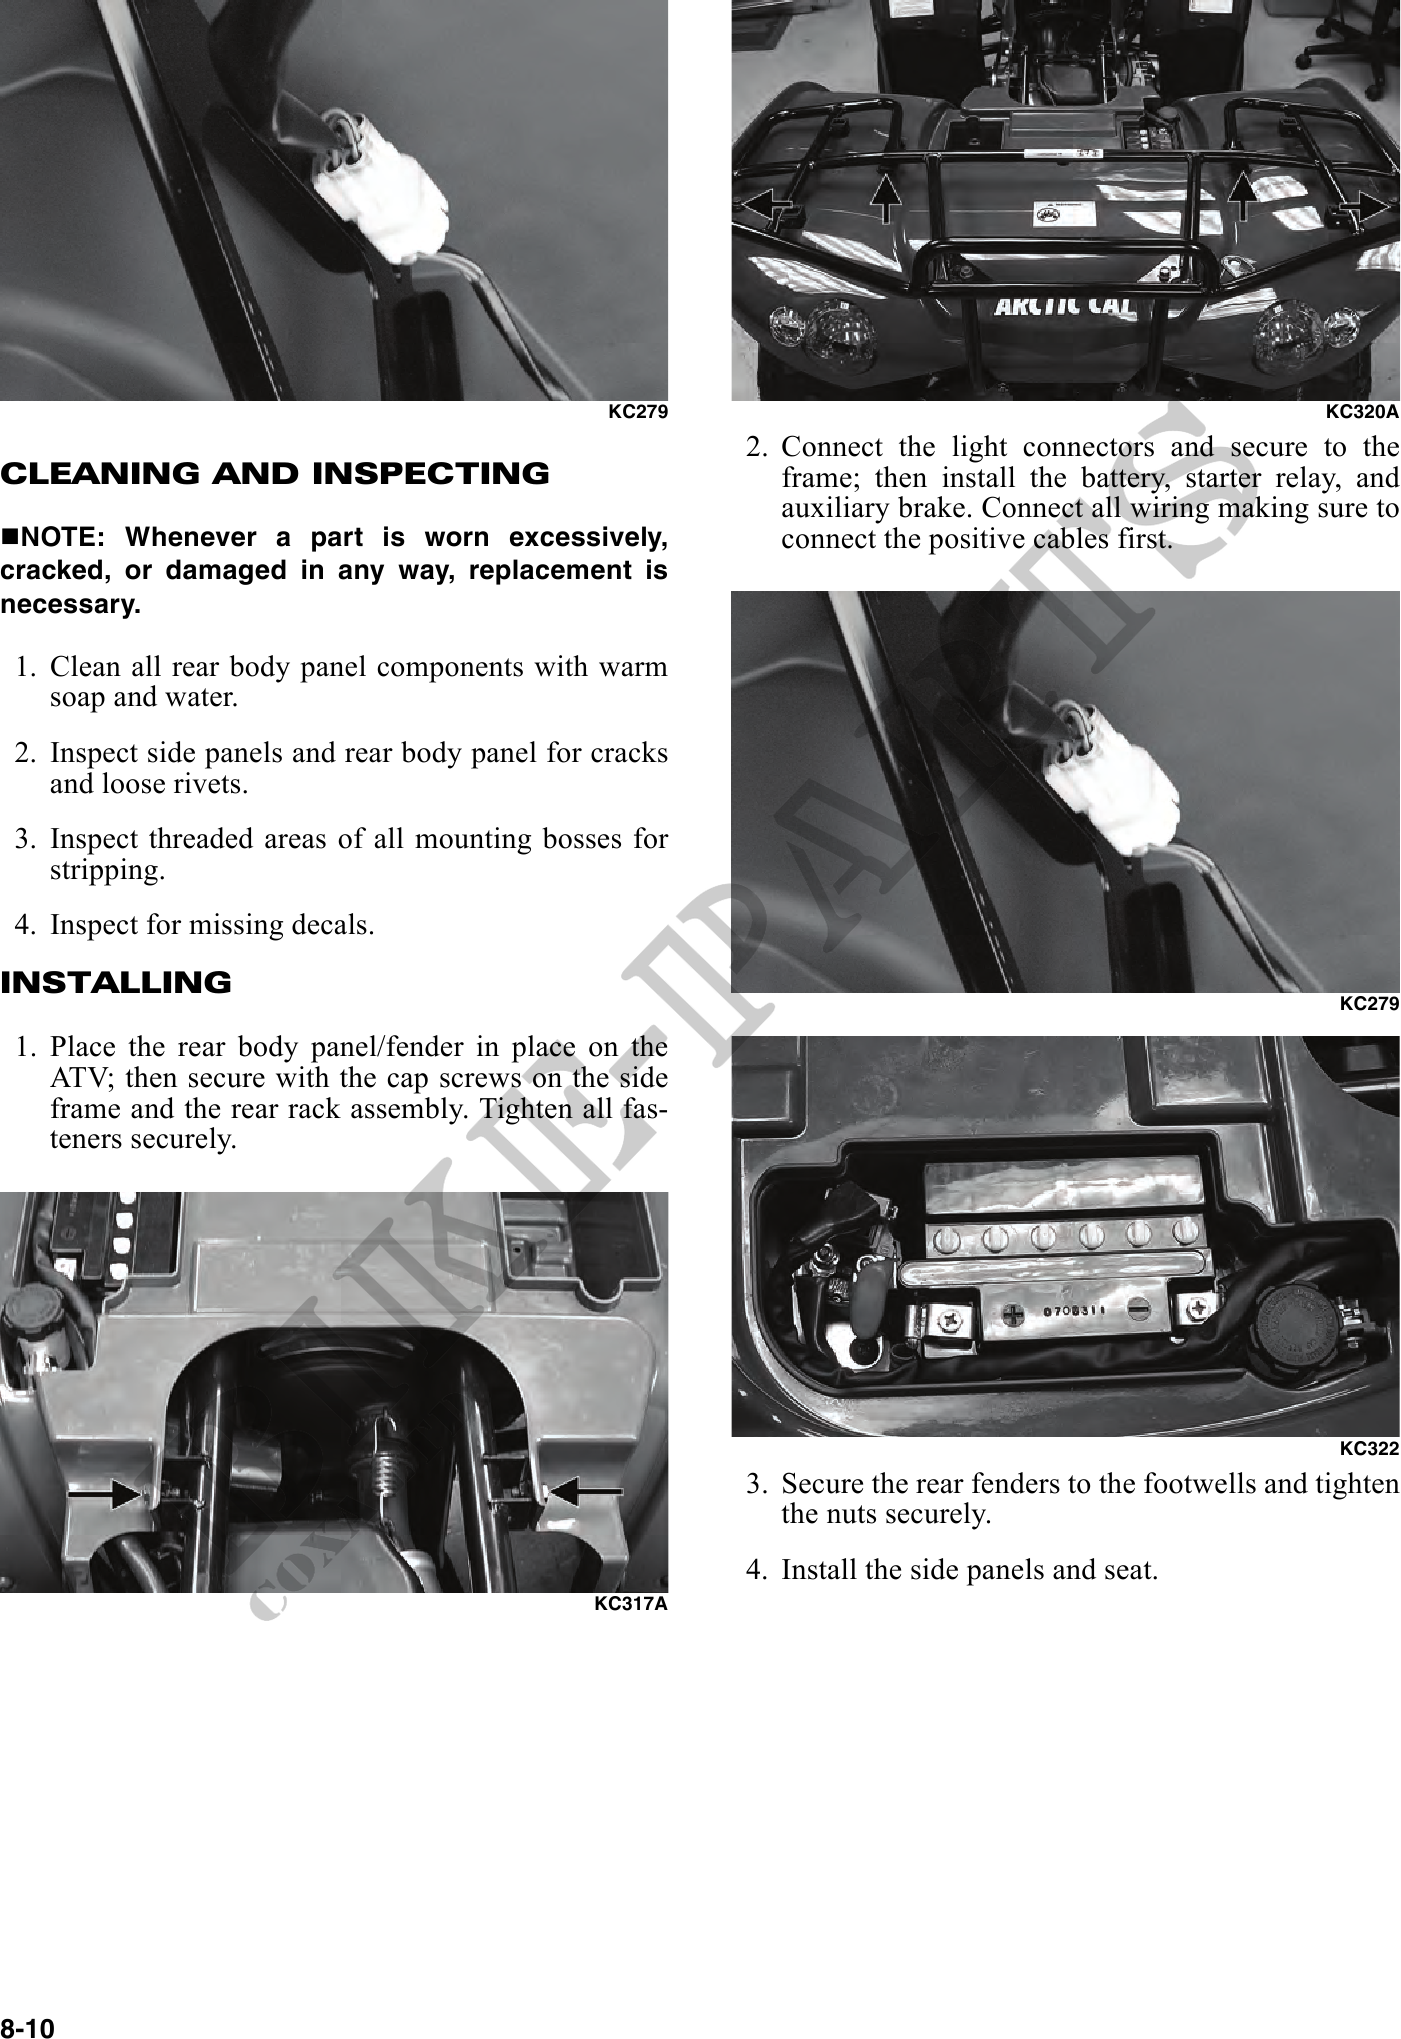
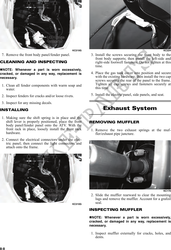
KC279 KC320A
2. Connect the light connectors and secure to the
CLEANING AND INSPECTING frame; then install the battery, starter relay, and
auxiliary brake. Connect all wiring making sure to
NOTE: Whenever a part is worn excessively, connect the positive cables first.
cracked, or damaged in any way, replacement is
necessary.
1. Clean all rear body panel components with warm
soap and water.
2. Inspect side panels and rear body panel for cracks
and loose rivets.
3. Inspect threaded areas of all mounting bosses for
stripping.
4. Inspect for missing decals.
INSTALLING
KC279
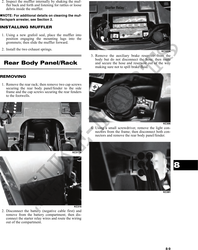
1. Place the rear body panel/fender in place on the
ATV; then secure with the cap screws on the side
frame and the rear rack assembly. Tighten all fas-
teners securely.
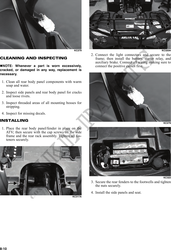
KC322
3. Secure the rear fenders to the footwells and tighten
the nuts securely.
4. Install the side panels and seat.
KC317A
8-10