mxu 400 Manuel atelier : Page 40

Microfiches
Image preview

Page 38

Image preview

Page 39

Image preview

Page 41

Image preview

Page 42

1 5 10 15 20 25 30 35 40 45 50 55 60 65 70 75 80 85 90 95 100 105 110 115 120 125 130 135 137
                                                          MD1264                                               MD1245

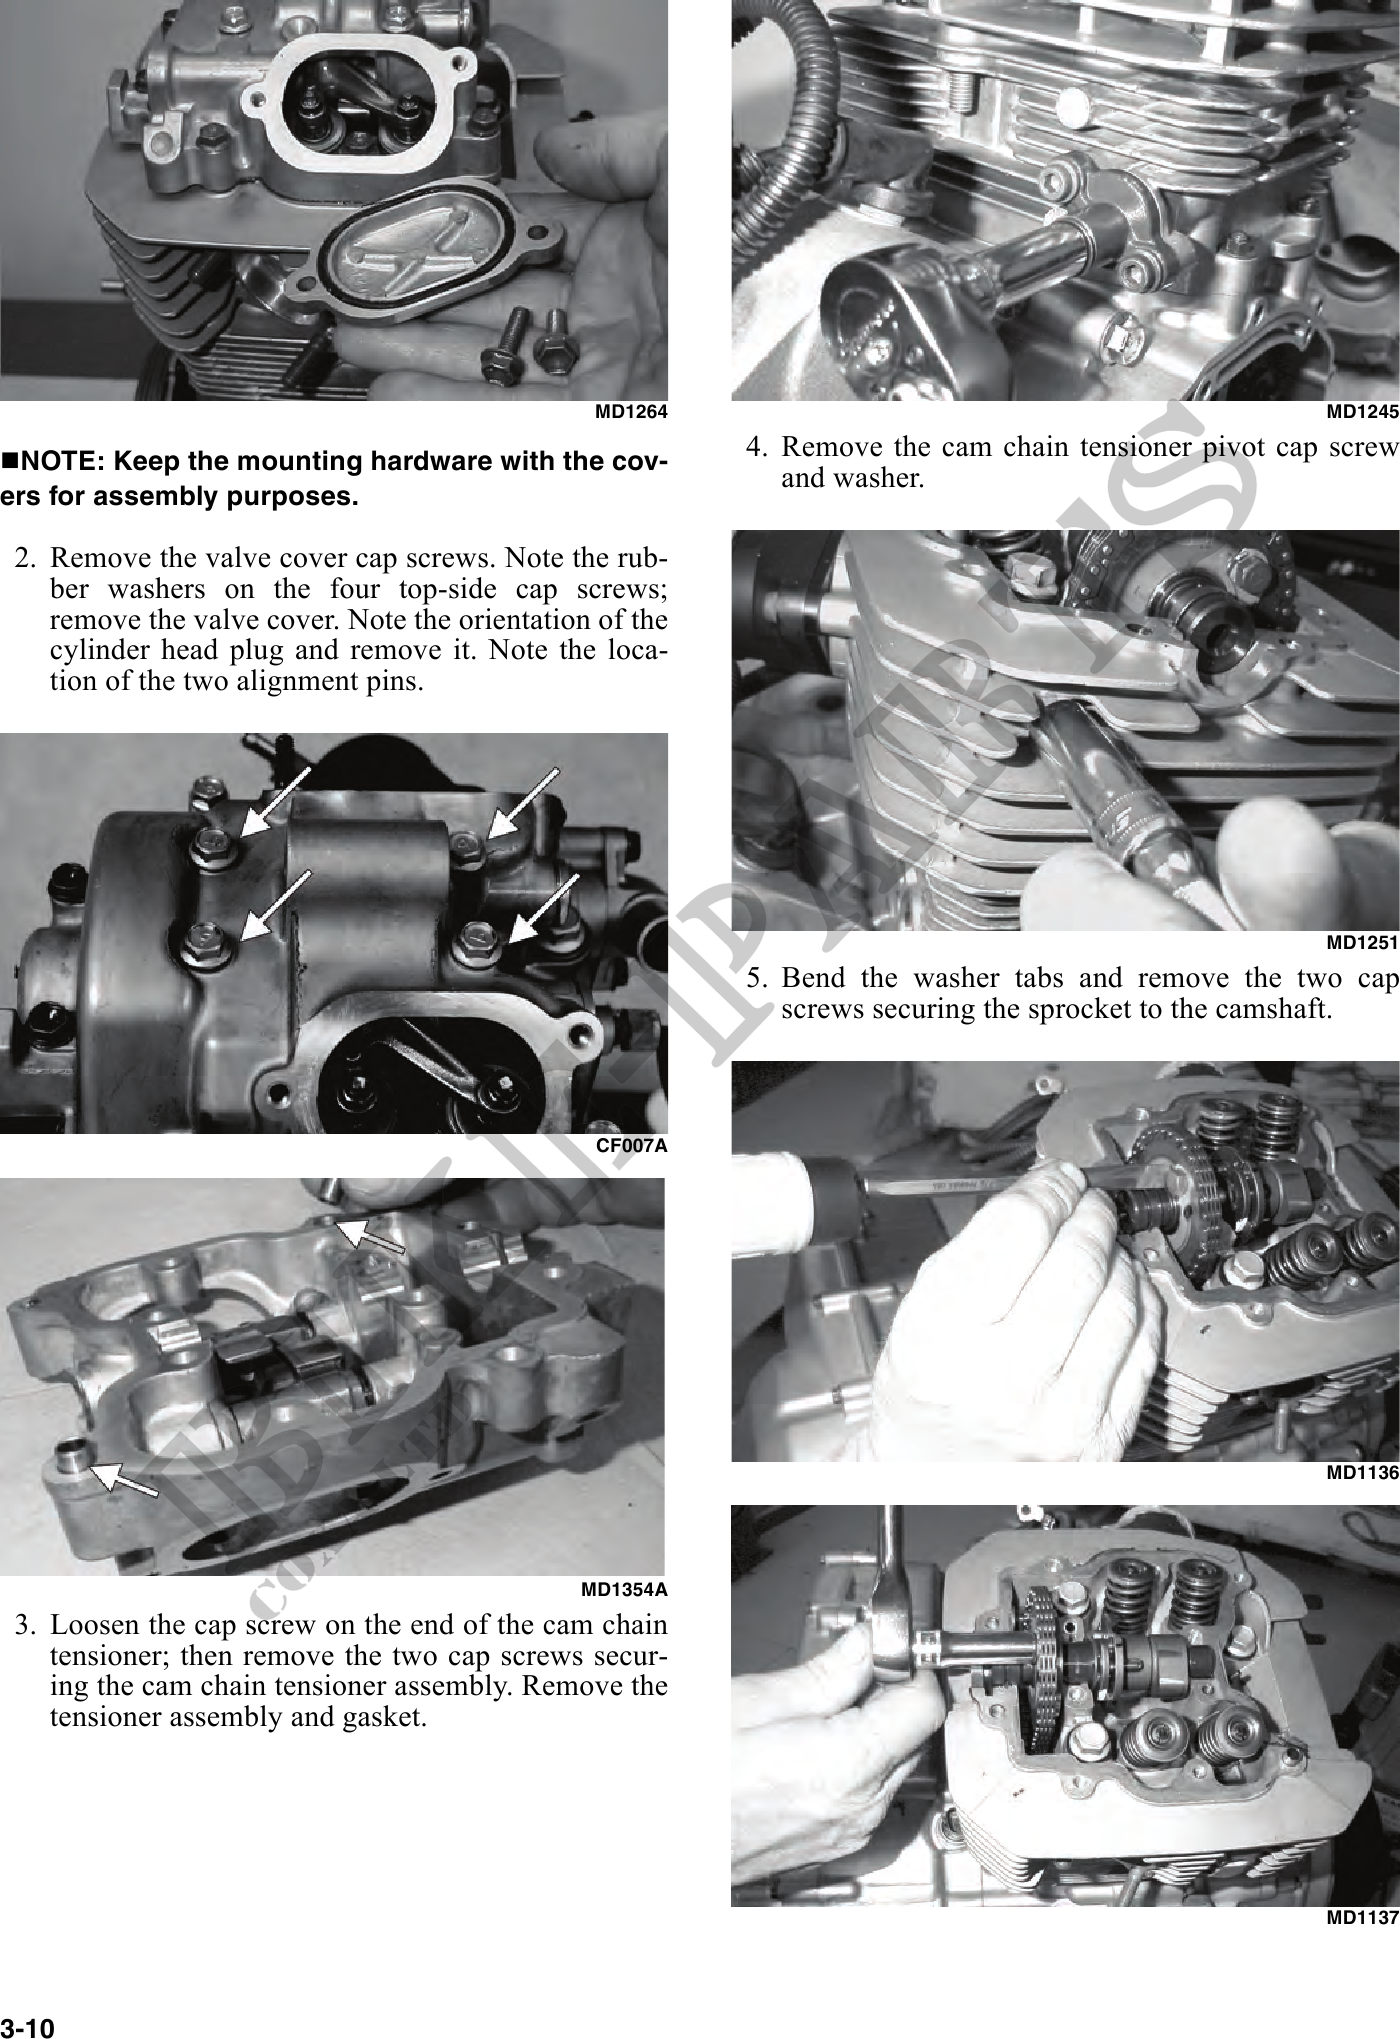
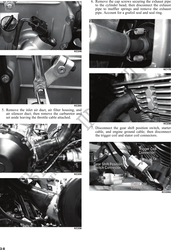
  NOTE: Keep the mounting hardware with the cov-          4. Remove the cam chain tensioner pivot cap screw
                                                             and washer.
ers for assembly purposes.

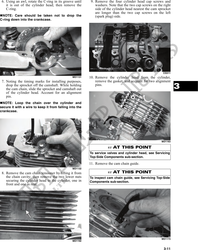
 2. Remove the valve cover cap screws. Note the rub-
    ber washers on the four top-side cap screws;
    remove the valve cover. Note the orientation of the
    cylinder head plug and remove it. Note the loca-
    tion of the two alignment pins.
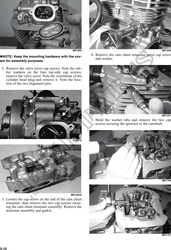


                                                                                                     MD1251
                                                          5. Bend the washer tabs and remove the two cap
                                                             screws securing the sprocket to the camshaft.
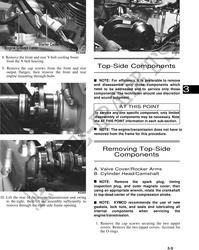


                                                 CF007A


                                                                                                     MD1136


                                               MD1354A
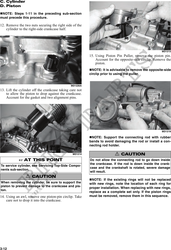
 3. Loosen the cap screw on the end of the cam chain
    tensioner; then remove the two cap screws secur-
    ing the cam chain tensioner assembly. Remove the
    tensioner assembly and gasket.


                                                                                                     MD1137


3-10