7. CYLINDER/PISTON STRYKER 125/150
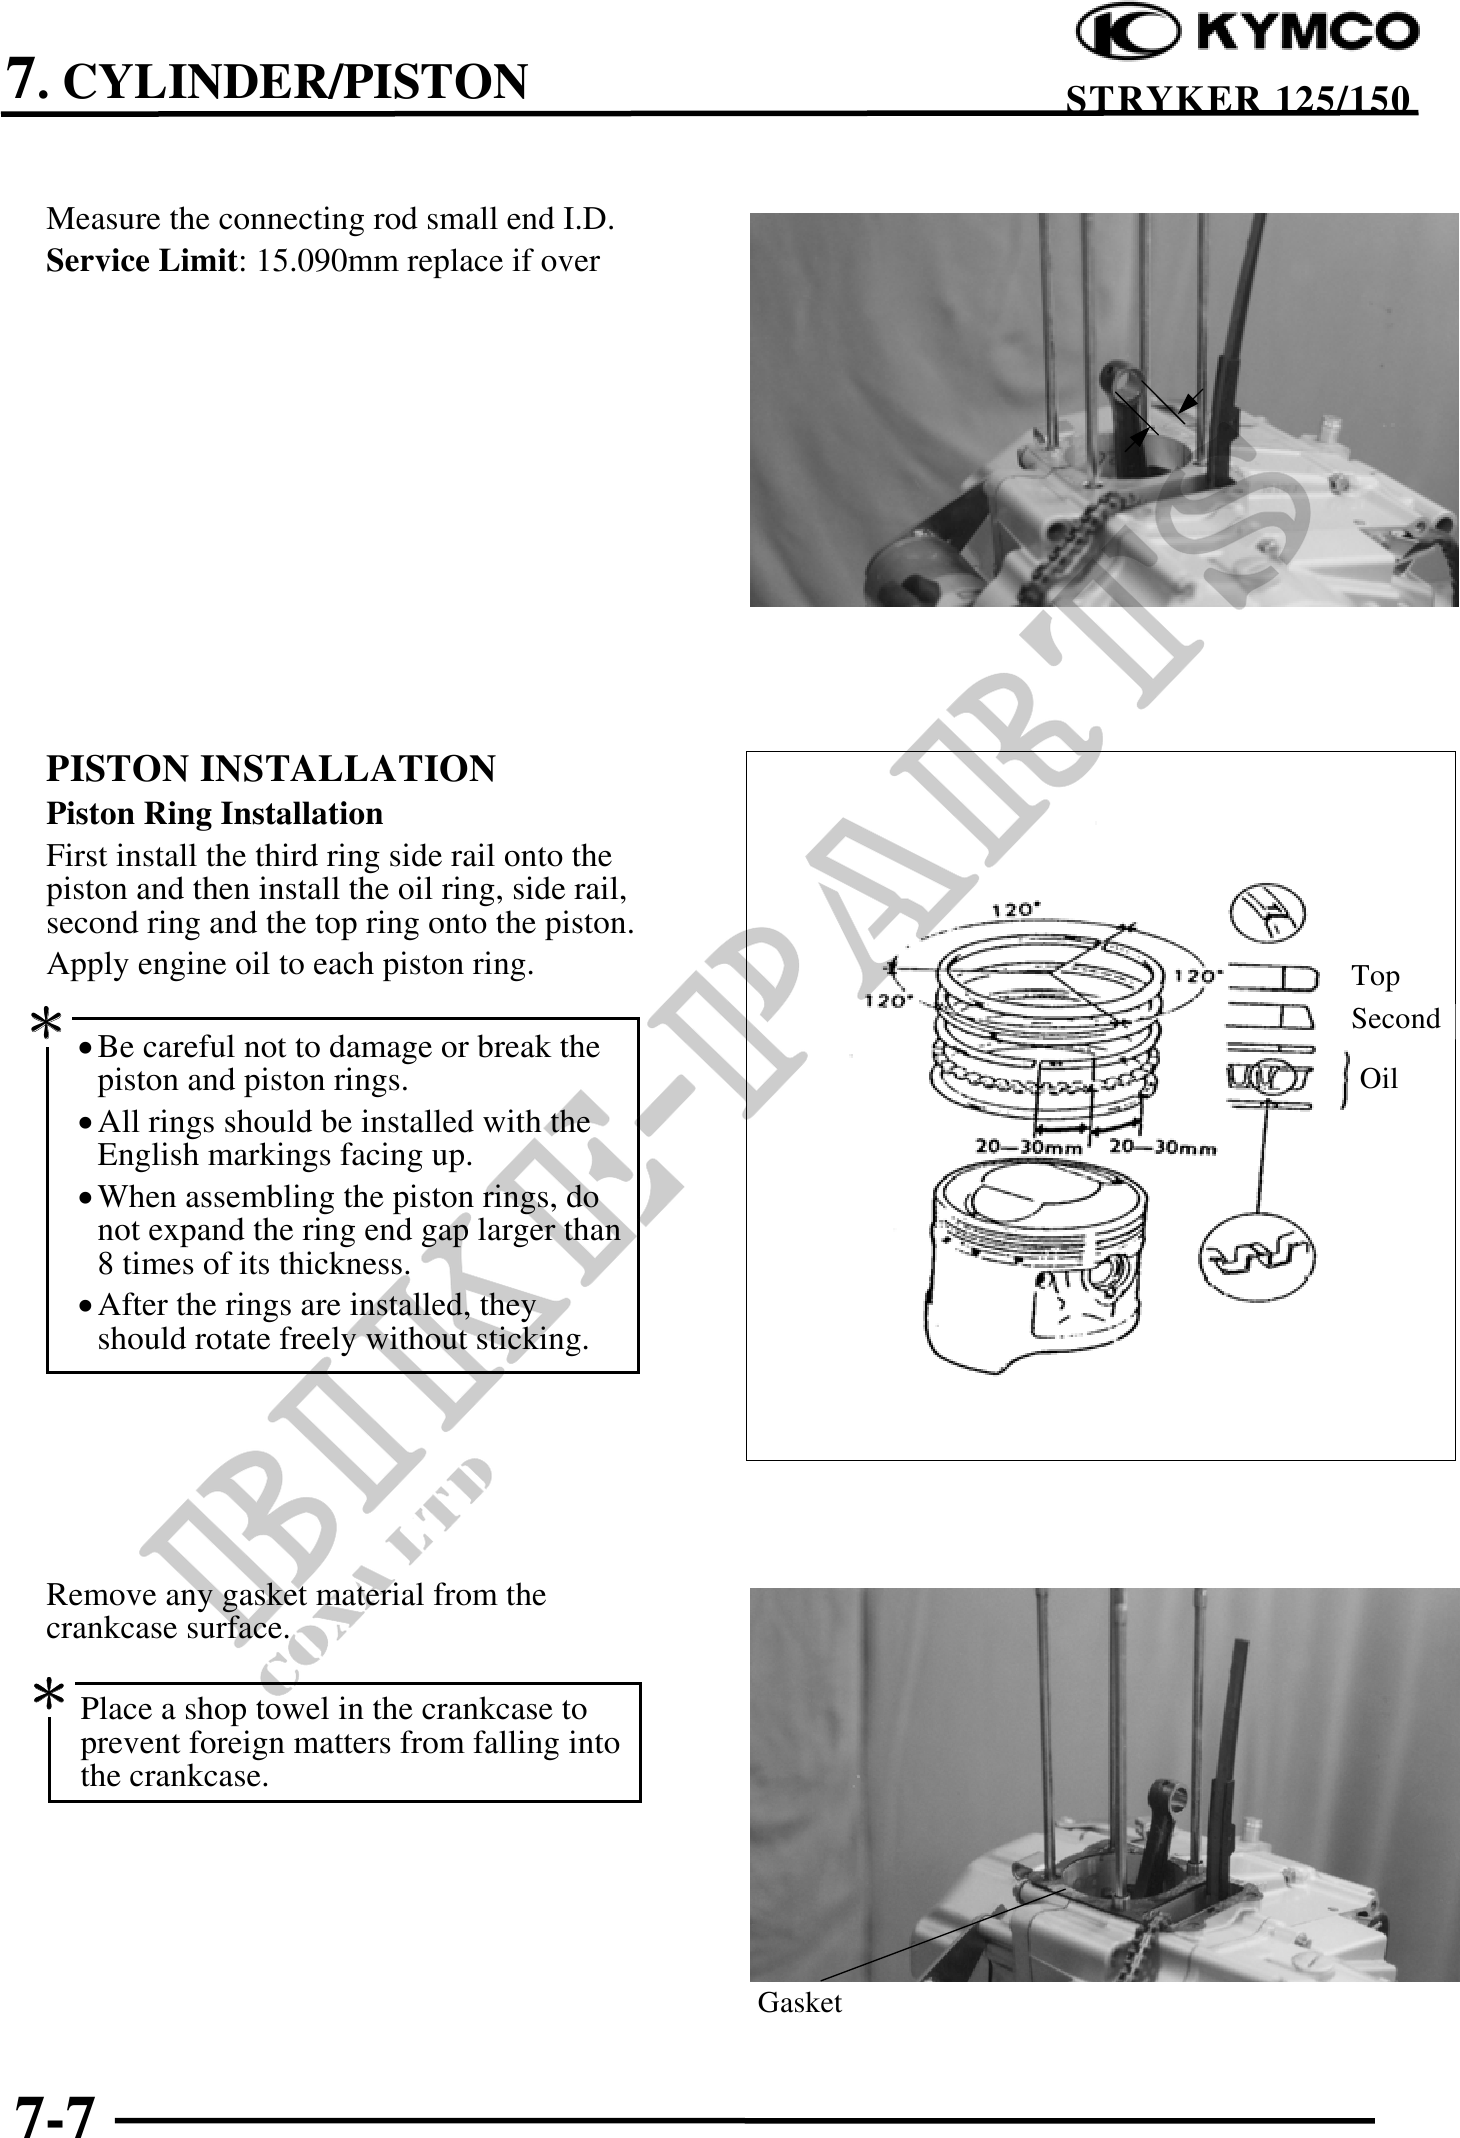
Measure the connecting rod small end I.D.
Service Limit: 15.090mm replace if over
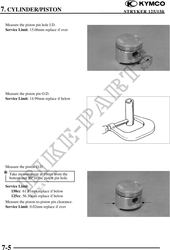
PISTON INSTALLATION
Piston Ring Installation
First install the third ring side rail onto the
piston and then install the oil ring, side rail,
second ring and the top ring onto the piston.
Apply engine oil to each piston ring. Top
· Be careful not to damage or break the Second
piston and piston rings. Oil
· All rings should be installed with the
English markings facing up.
· When assembling the piston rings, do
not expand the ring end gap larger than
8 times of its thickness.
· After the rings are installed, they
should rotate freely without sticking.
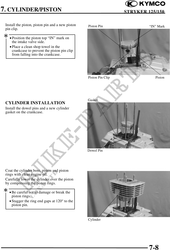
Remove any gasket material from the
crankcase surface.
Place a shop towel in the crankcase to
prevent foreign matters from falling into
the crankcase.
Gasket
7-7